
This post may contain affiliate links, which means I get a little off the top to help me keep this website running. It doesn’t cost you extra or affect my opinion.
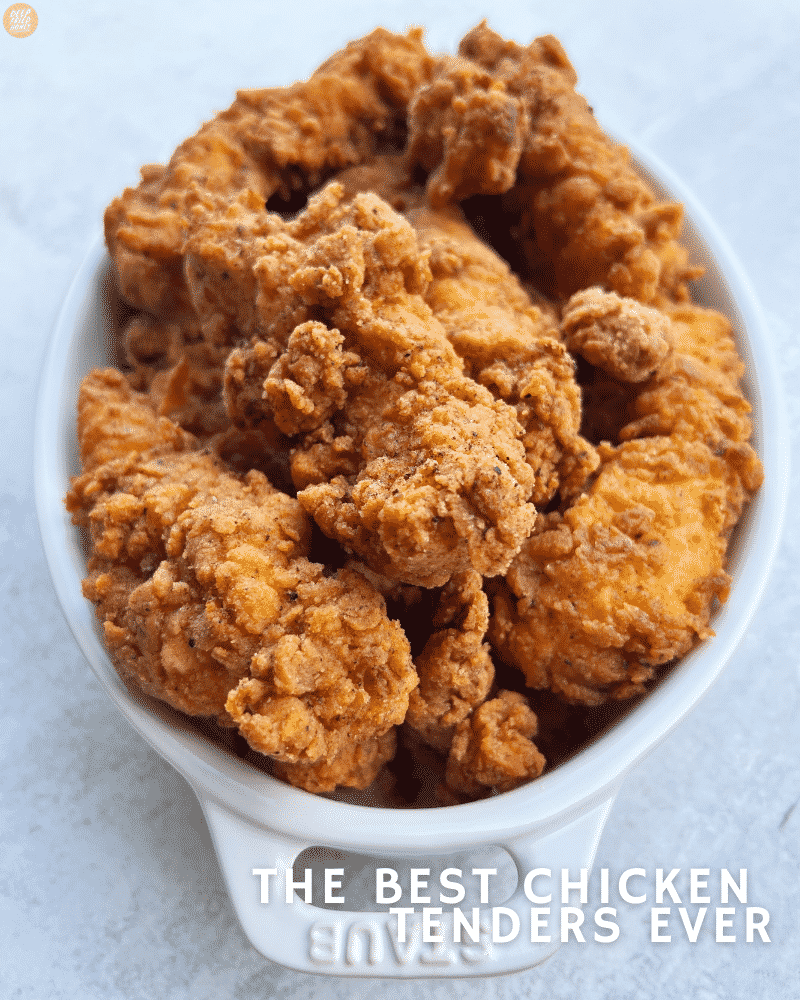
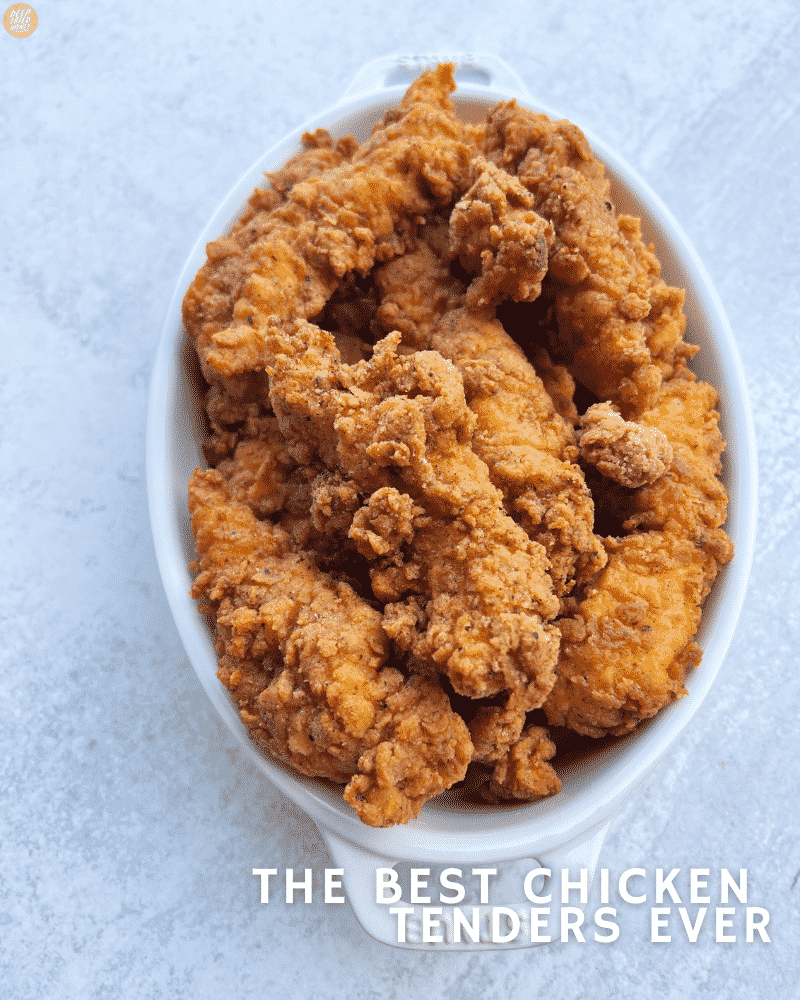
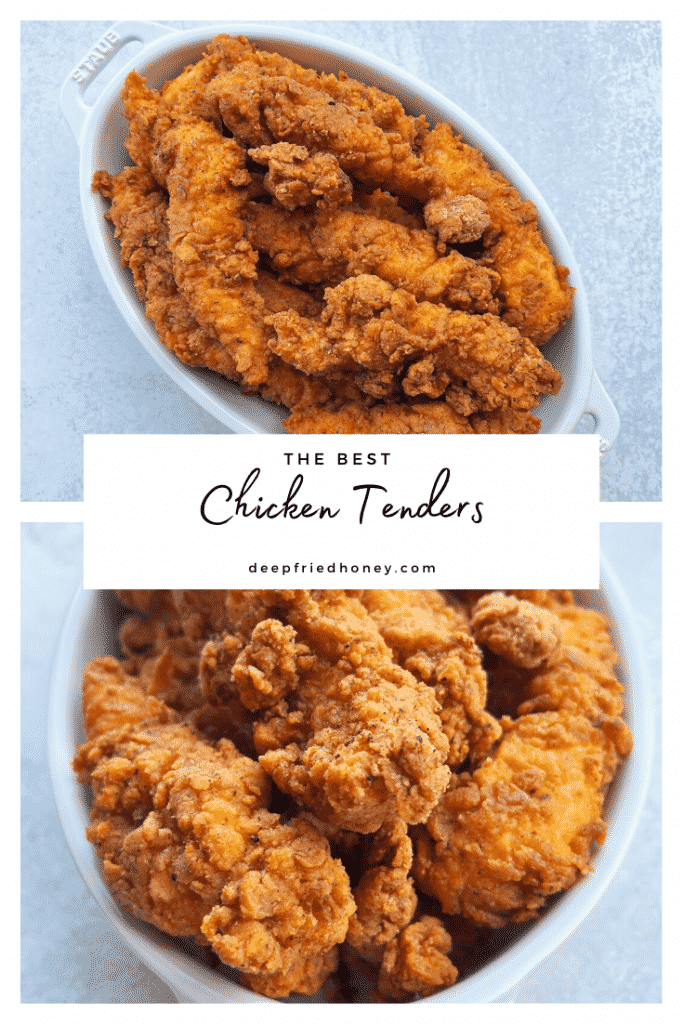
Chicken Tenders are my favorite food in the whole world and I’m not ashamed of it! Well, overcooked chicken tenders are, actually, but I realize I’m an odd duck so don’t worry, as written these tenders come out perfectly done and juicy.
There are a few steps, but they’re very well worth it and overall it’s not a very complicated thing to make. This recipe works well with nuggets and bone-in chicken, you’ll just need to adjust the cooking time. I have a few fried chicken recipes here already you might wanna go for instead, tho.
Best Chicken Tenders Ever Ingredients
Feel free to jump to the full recipe, but here are useful notes about the ingredients you will need to make this Best Chicken Tenders Ever recipe:
- Chicken tenderloins or strips: On an average day I’m gonna use boneless skinless chicken breasts cut into thin slices, but if they were on sale or whatever I’ll use tenderloins. Check out my method for removing the tendons here.
- Egg: We use eggs to thicken the buttermilk dredge. It helps create the crunchy craggies that I’m such a big fan of but can be left out of this recipe without too much of a difference. If you have time tho, don’t skip it. Or try it both ways and see what you prefer!
- All-purpose flour, cornstarch, baking powder: If you use self-rising flour that’s totally fine of course – I use it for my Simple Fried Chicken recipe purposefully – but you can omit the baking powder. The baking powder and cornstarch add lift to the exterior.
- Buttermilk: It’ll tenderize – too much if you leave it too long. I don’t recommend marinating boneless chicken – especially small pieces – in buttermilk for more than 6-8 hours.
- Hot sauce: Not enough to make it spicy, just enough to really get in there and flavor the meat. I’m a Texas Pete girl as you probably already know. Use your favorite or whatever you have on hand.
- Seasoned salt: I’m a Lawry’s girl. Use what you want. Not plain salt tho, that’s boring! At least season it. Homemade seasoned salt, look at that!
- Powdered sugar: I know, sounds weird. There is no sweetness to these, but it does round out the flavor and temper the spice if you’re sensitive. I assume that if you’re reading this you’ve been with me a while so just trust me and go with it. If you’re new and we don’t have that rapport yet, you should still trust me! But, you can omit this if you like.
- Paprika, granulated garlic, cayenne pepper, cracked pepper: You’re gonna liberally season your flour with these. Use more if you look closely at the flour and can’t actually see the
- Oil: I like peanut oil for the high smoke point and the fact that it’s reusable without picking up the flavor of whatever you fried before. It’s pricey tho, so vegetable/canola oil or Crisco work just fine.
How to Make Best Chicken Tenders Ever
Full instructions are included in the recipe below, but here is a basic overview of what you’ll need to do, along with some important tidbits to help you make the most of this Best Chicken Tenders Ever recipe:
- Season your chicken. The recipe calls for about a teaspoon of seasoned salt for all of the chicken. and cover it with one cup of buttermilk and the hot sauce. You can use more seasoned salt if you like Stir it up so all the chicken is coated. No tender left behind! Soak in the fridge for at least half an hour, but no longer than overnight. You don’t want chicken that tastes like buttermilk.
- Prepare to dredge. In a medium bowl, whisk together the eggs and the remaining buttermilk. In another bowl – or a large bag – whisk together the flour, cornstarch, baking powder, and remaining spices. Remove the chicken from the fridge about 15 minutes before you’re ready to batter them. Remove the tenders from the bowl one by one, allowing excess to drip off before lightly dredging in the flour mixture. You don’t want or need a thick coating, just a dusting really.
- Do the dredging. Dip the tender into the egg/buttermilk mixture, then back into the flour. Now this second time, coat the tender well, pressing the flour into the chicken to help it adhere. This is how you develop what I call ‘crunchy craggies’. Set the coated tenders on a plate or baking sheet to rest while you coat all of the tenders. Try to leave a little space between them so they can air out evenly, but that’s not mandatory.
- Get to frying. Heat your oil to 365°F. Use an oil thermometer if you need it. Allow the chicken to rest at room temperature while the oil preheats. Fry the chicken in small batches – do not crowd the pan! – for about 7-10 minutes each, turning halfway through if needed. Tenders generally float when the inside is cooked through, but a thermometer is the only way to be 100% sure. Drain on a wire rack over a baking sheet. If you drain them on paper towels I will hunt you down!

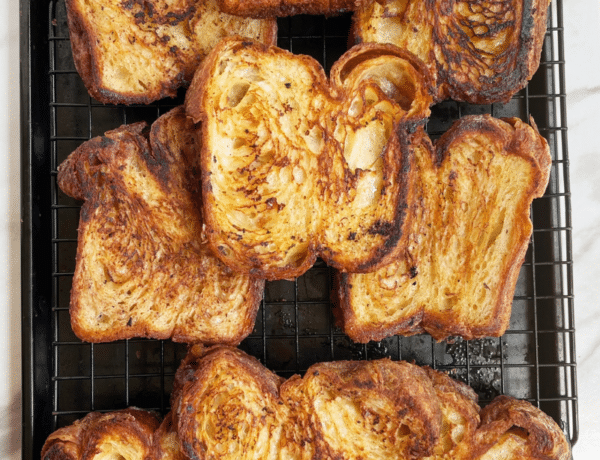
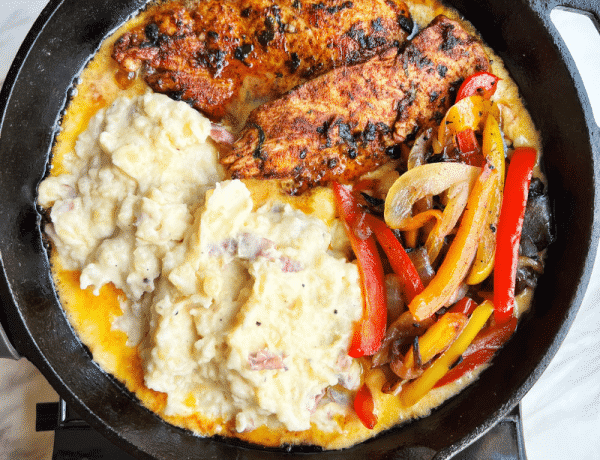
What To Serve With Best Chicken Tenders Ever
OK so what DOESN’T go with chicken strips, I mean really? They’re the best and they go with everything; I’m not interested in any arguments saying otherwise so keep them! 😅
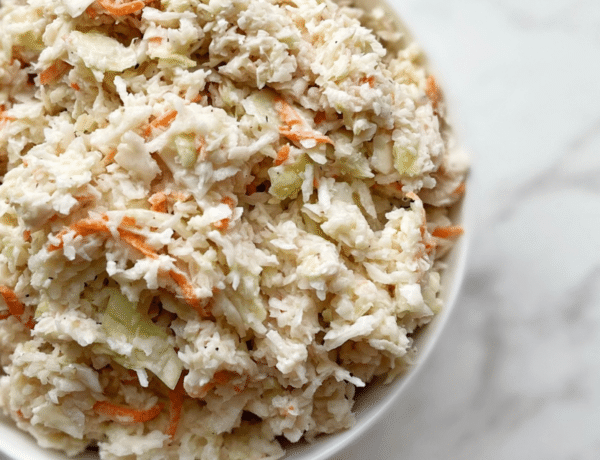
Buttermilk Coleslaw
August 12, 2021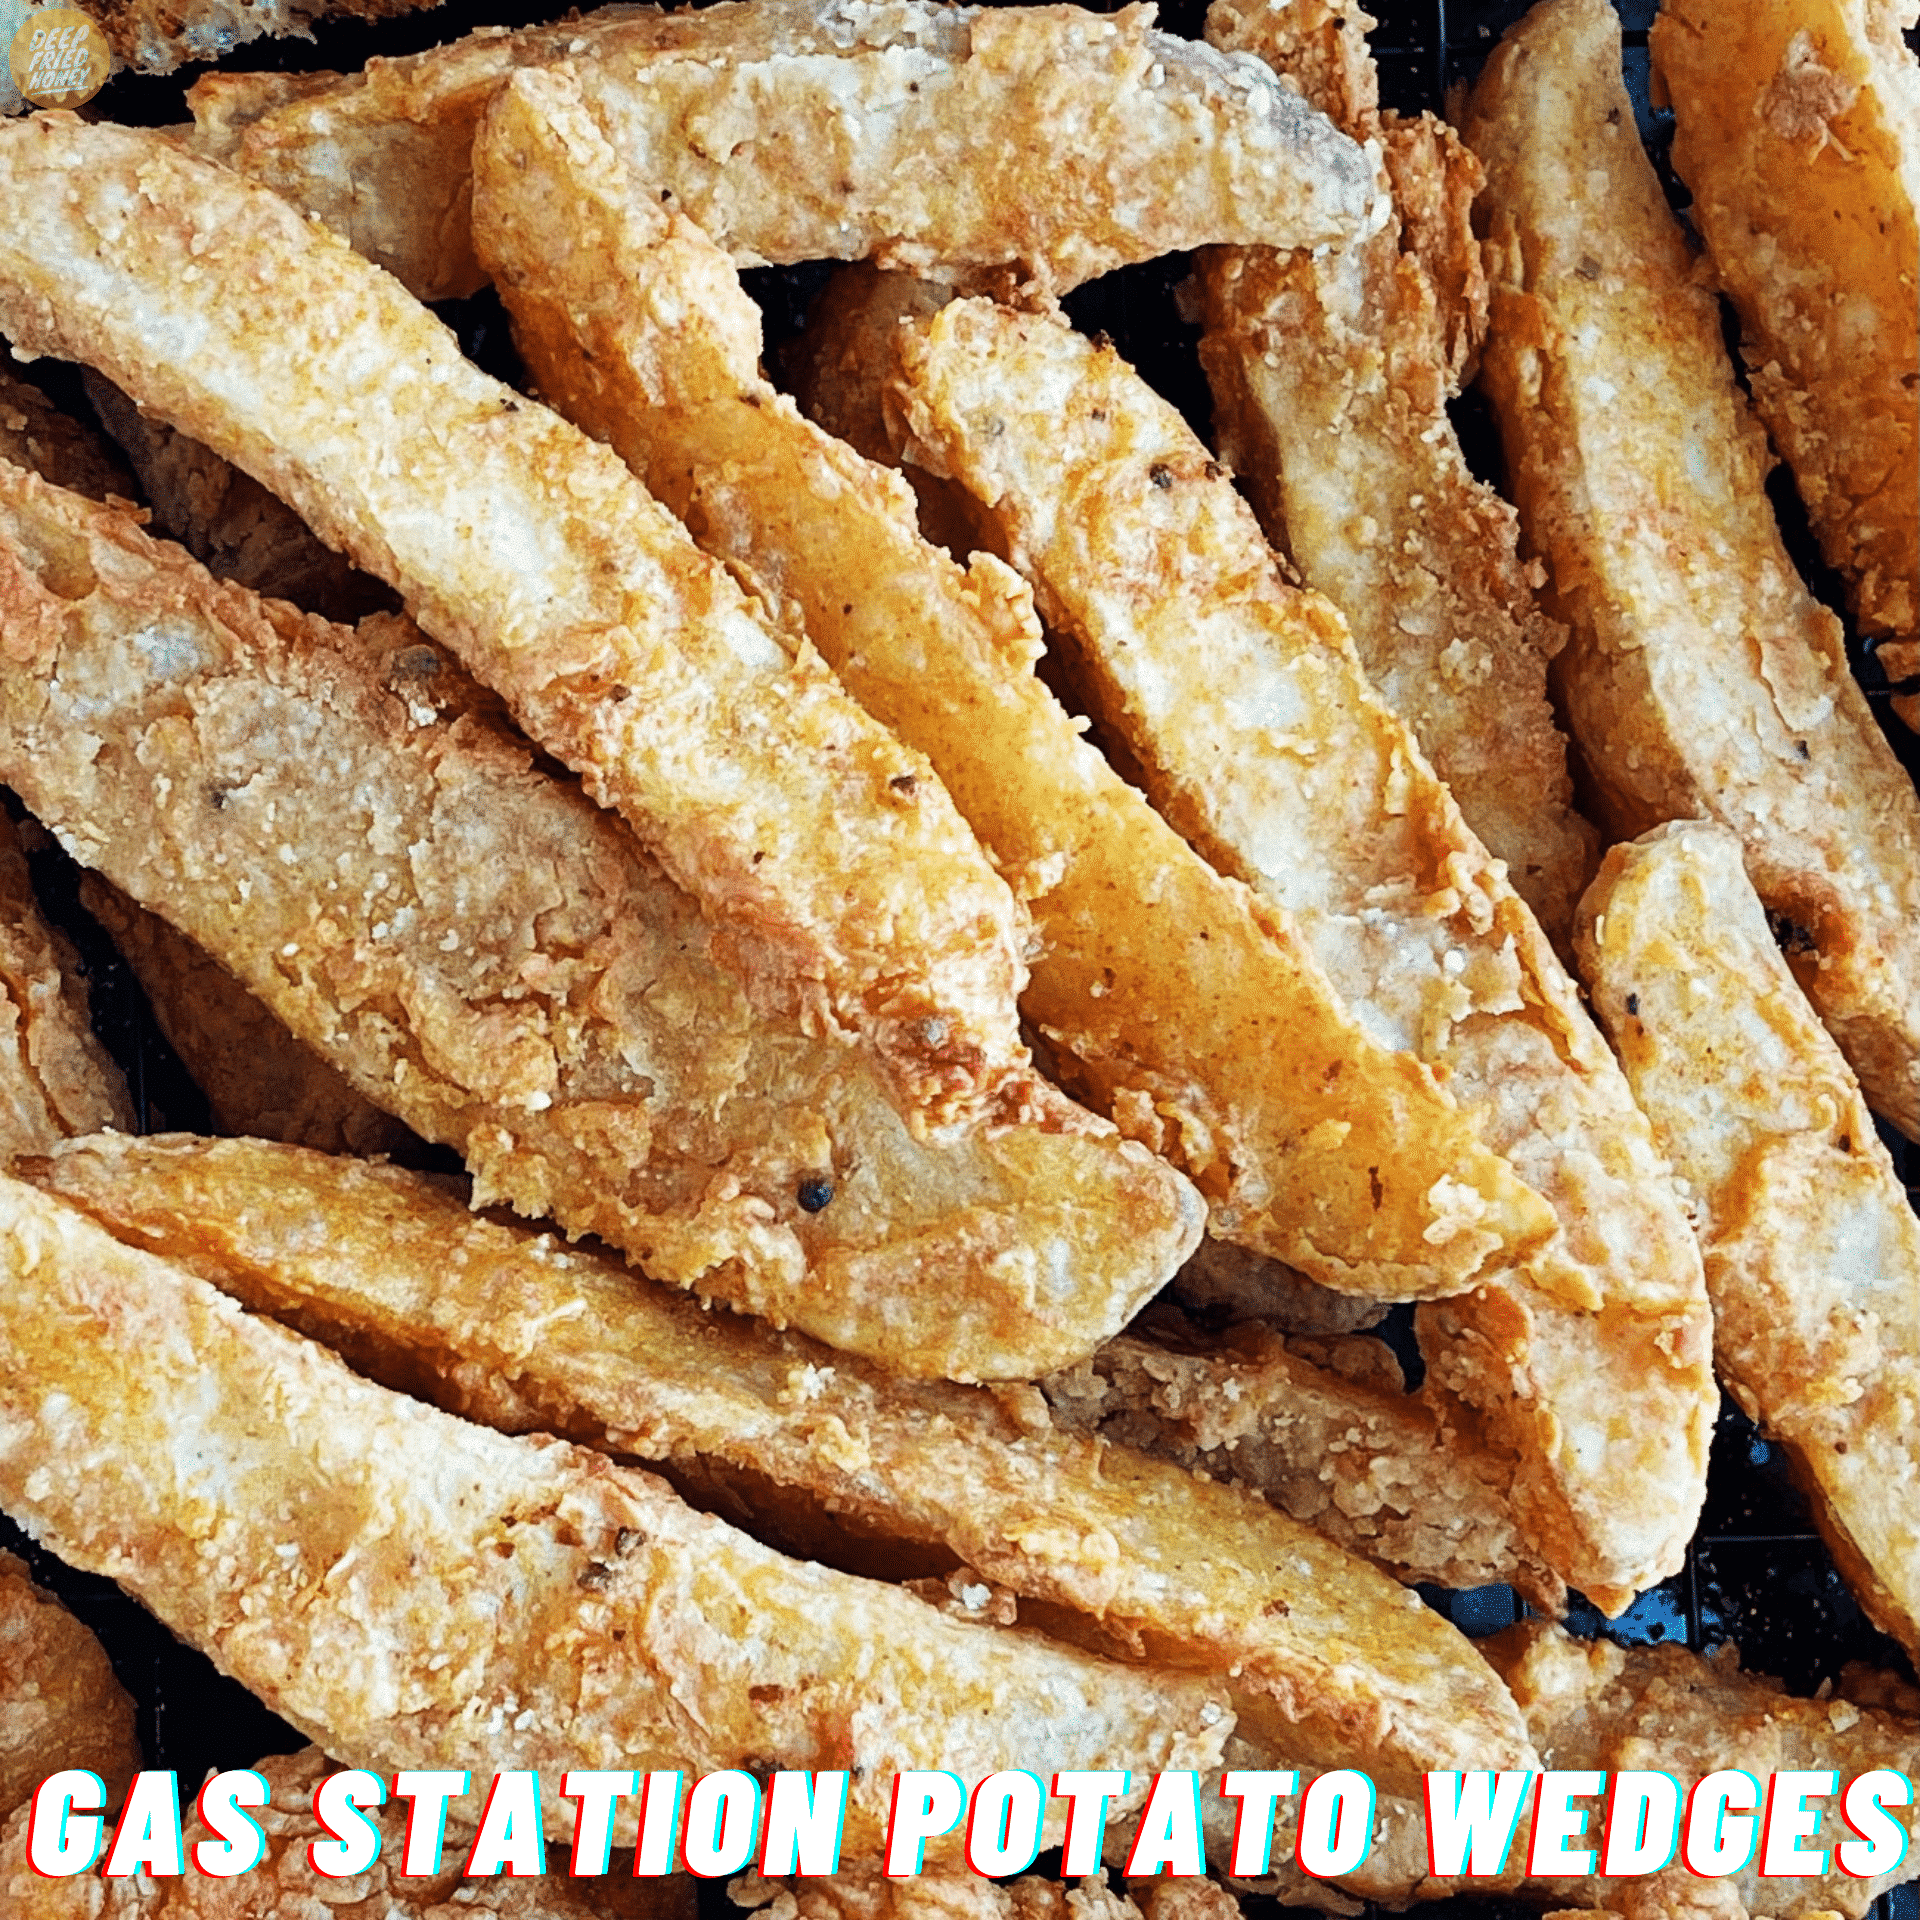
Gas Station Potato Wedges
March 13, 2021
Vegetable Fried Rice
June 13, 2020Obligatory Pinterest Graphic options –
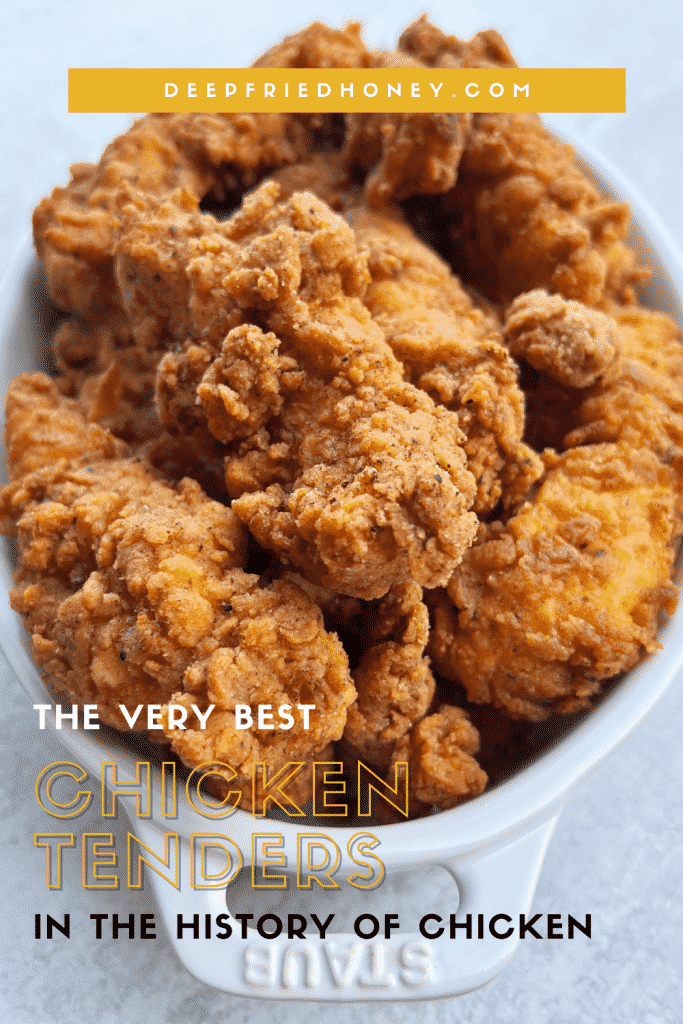
Best Chicken Tenders Ever
- Total Time: 45 minutes
- Yield: 8 1x
Description
You can trust me, I’m a Certified Chicken Tender Connoisseur.
Ingredients
- 1 lb chicken tenderloins or breasts cut into strips
- 1 egg, beaten
- 2 C all-purpose flour
- 1 1/2 C buttermilk
- 1 C cornstarch
- 2 tbsp hot sauce
- 3 tsp seasoned salt, divided
- 2 tsp paprika
- 2 tsp granulated garlic
- 1 tsp powdered sugar
- 1 tsp cracked pepper
- 1/2 tsp cayenne pepper
- 1/4 tsp baking powder
- oil, for frying
Instructions
- Season your chicken with about one teaspoon of seasoned salt and cover it with one cup of buttermilk and the hot sauce. You can use more seasoned salt if you like. Stir it up so all the chicken is seasoned. No tender left behind! Soak in the fridge for at least half an hour, but no longer than overnight. Even that is pushing it, to be honest, so I’ll just say no longer than 8 hours. You don’t want chicken that tastes like buttermilk.
- In a medium bowl, whisk together the eggs and the remaining buttermilk. Pick another bowl – or a large bag – and in that whisk together the flour, cornstarch, baking powder, and all of the remaining spices.
- Remove the chicken from the fridge about 15-30 minutes before you’re ready to batter. This will ensure they cook evenly. Remove the tenders from the bowl one by one, allowing excess to drip off before lightly dredging in the flour mixture. You don’t want or need a thick coating, just a light dusting really.
- Dip the tender into the egg/buttermilk mixture, quickly, let the excess liquid drip back into the bowl, then place the tender back into the flour. Now this second time, coat the tender very well, pressing the flour into the chicken to help it adhere. I like to squeeze them in my fists, to be extra sure. This is how you develop what I call ‘crunchy craggies’. Set the coated tenders on a plate or baking sheet to rest while you coat all of the tenders. Try to leave a little space between them so their exteriors can dry out evenly, but that’s not mandatory.
- Heat your oil to 365°F. Use an oil thermometer if you need it. Fry the chicken in small batches – do not crowd the pan! – for about 7-10 minutes each, turning halfway through if needed. Tenders generally float when the inside is cooked through, but a thermometer or ripping them open is the only way to be 100% sure.
- Drain the cooked tenders on a wire rack over a baking sheet. If you drain them on paper towels I will hunt you down. Keep them warm in a 200°F oven if you’re cooking in batches or not eating immediately, but I say the fresher the better!
Notes
- The post above the recipe fleshes out some details, especially about the ingredients and how you can adjust ’em.
- Prep Time: 30
- Cook Time: 15

1 Comment
Jeff
April 17, 2024 at 6:35 pmThis was legit. I knew when I read “I assume that if you’re reading this you’ve been with me a while so just trust me and go with it. If you’re new and we don’t have that rapport yet, you should still trust me!” this was the recipe to use. My first batch was just lightly golden which was great fresh but didn’t hold up as well over time. After awhile you don’t even have to time it, just maintain the heat and look for the color. You have a newbie fan Maria, thanks